Create a new app registration
This section guides you through the minimum steps to create a new application registration in Microsoft Entra ID for AzureHound Enterprise data collection.See the Microsoft documentation for more information.
1
Navigate to Entra ID
Log into the Microsoft Entra admin center as a user with the Global Administrator role, or the following less privileged roles:
2
Create a new app registration
- In the left menu, click Entra ID > App registrations > New registration.
-
In the Name field, enter a name for the application to identify it in your organization.
Make sure the supported account type is set to the Accounts in this organizational directory only (Single tenant) option. A URI is not required.

- Click Register to create the application registration.
3
Retrieve details for AzureHound configuration
In the Overview menu, copy the Application (client) ID and Directory (tenant) ID.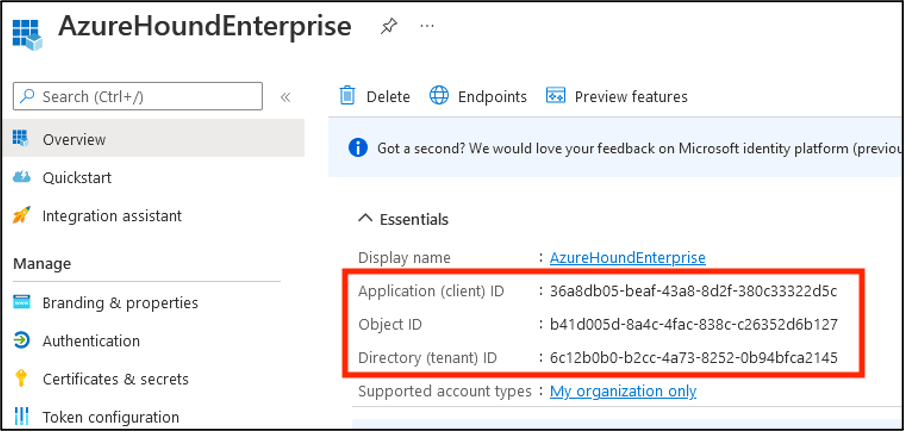
You will need this information later to configure AzureHound Enterprise.
Add required API permissions
This section describes how to configure the required Microsoft Graph API permissions for the AzureHound Enterprise application registration.See the Microsoft documentation for more information.
This section applies to Certificate, Client Secret, and Username and Password authentication methods. For Azure Managed Identity authentication, Microsoft Graph permissions must be granted directly to the managed identity’s service principal — see Managed identity for details.
1
Navigate to API permissions
On the Overview page of the app registration, click API Permissions.
2
Remove default permission
Remove the default User.Read delegated permission. It is not required for AzureHound Enterprise data collection.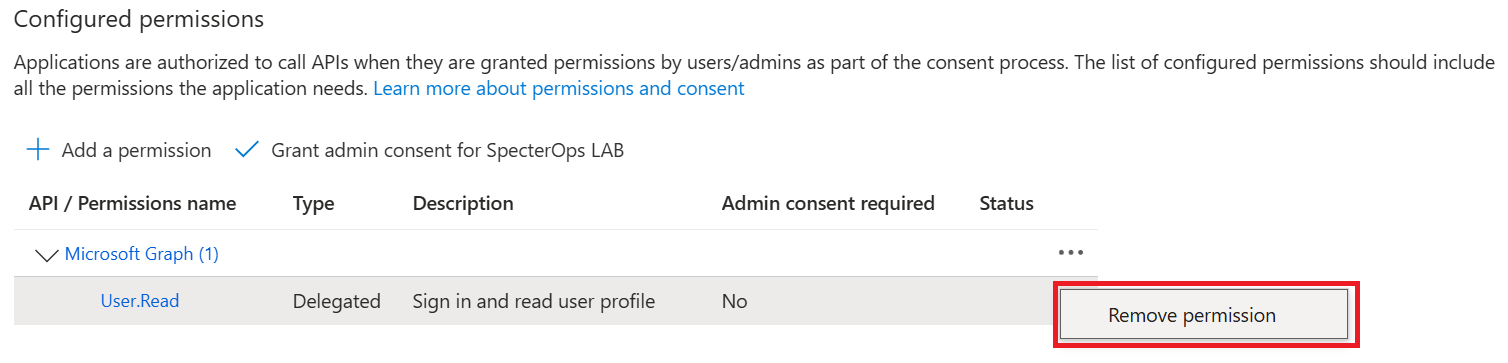
3
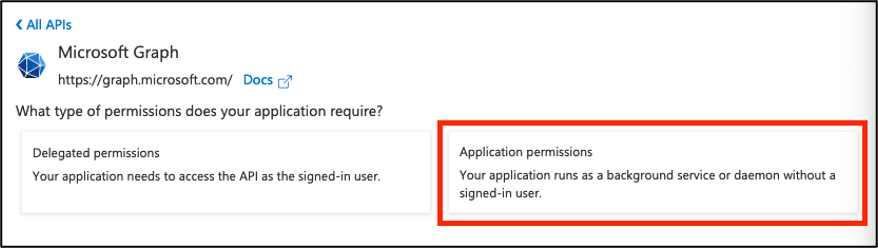
Add Microsoft Graph API permissions
- Click Add a permission > Microsoft Graph.
-
Select Application permissions.
-
Search for and check the box next to each of the following Microsoft Graph application permissions. See AzureHound Data and Permissions: Entra ID for details on the least-privilege approach:
- Click Add permissions.
4
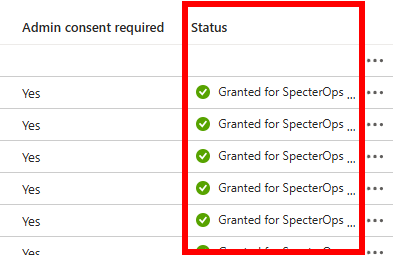
Grant admin consent
After adding the required permissions, you must grant admin consent for the application to use them.
-
Click Grant admin consent for <your_tenant_name>.
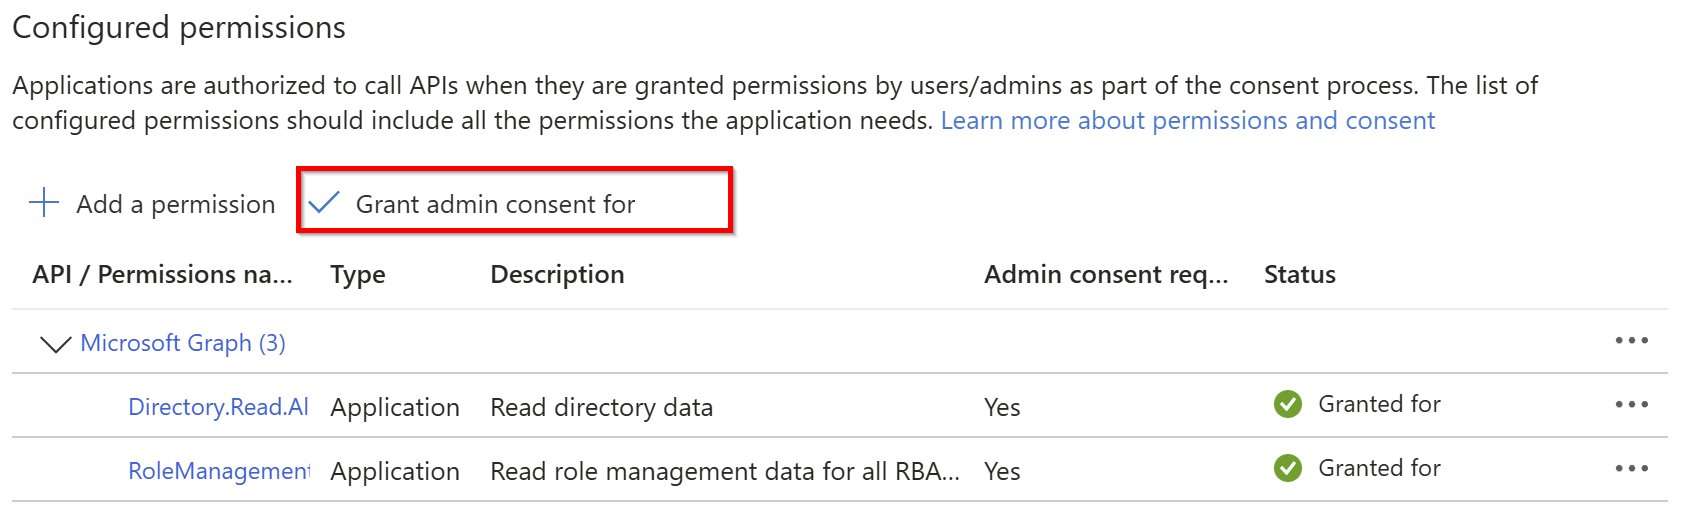
- Click Yes in the confirmation dialog.
-
After being redirected to API Permissions again, you should see both permissions as Granted.
Configure authentication
This section describes how to configure authentication methods for AzureHound Enterprise. AzureHound Enterprise supports the following authentication methods:- Azure Managed Identity (recommended)
- Certificate
- Client Secret
- Username and Password
This section provides instructions for configuring the Azure Managed Identity and Certificate authentication methods. For information on other methods, see the Microsoft documentation.
Managed identity (recommended)
Managed identities provide the most secure authentication method because they remove the need to manage credentials directly. Microsoft recommends user-assigned managed identities for Microsoft services, so this example uses the user-assigned type. AzureHound Enterprise also supports system-assigned managed identities, but that workflow is not covered in this guide. For this setup, create a user-assigned managed identity in Azure and assign it to the Azure resource where you plan to run AzureHound Enterprise.To complete AzureHound configuration, you will need the user-assigned managed identity Client ID. AzureHound Enterprise must run on the Azure resource where that identity is assigned.
1
Navigate to Azure Managed Identities
Sign in to the Azure portal and search for Managed Identities in the top search bar.
2
Create a user-assigned managed identity
Click Create and enter the required information to create a new user-assigned managed identity.
See the Microsoft documentation for more information.
3
Assign the managed identity to the AzureHound Enterprise host
Assign the user-assigned managed identity to the Azure resource where you plan to run AzureHound Enterprise, such as a virtual machine or app service.
Azure Managed Identity authentication only works when AzureHound Enterprise runs on an Azure resource that has access to the managed identity. See the Microsoft documentation for more information.
4
Grant required permissions to the managed identity
AzureHound authenticates directly as the managed identity — no app registration is involved. You must grant both types of required permissions directly to the managed identity’s service principal:
- Microsoft Graph API permissions — The Azure portal provides no user interface for granting Microsoft Graph application permissions to a managed identity’s service principal. You must use PowerShell (or Azure Cloud Shell) to assign these permissions directly. See AzureHound Data and Permissions: Entra ID for details on the least-privilege approach.
- AzureHound Reader role — Assign the AzureHound Reader custom role to the managed identity’s service principal at the Tenant Root Group scope. See Create and assign required access roles below.
$managedIdentityClientId placeholder with the Client ID found in the Azure portal under Managed Identities > your identity > Overview.Certificate
Certificates provide stronger authentication than client secrets or username and password combinations, but you must manage and rotate them properly. For this setup, you must also upload the certificate to the app registration if you’re using the AzureHound Enterprise CLI tool to create the certificate.If you have not already created a certificate, see Create an AzureHound Configuration before proceeding.
1
Navigate to Entra ID Certificates & secrets
-
On the Overview page of the app registration, click Certificates & secrets.
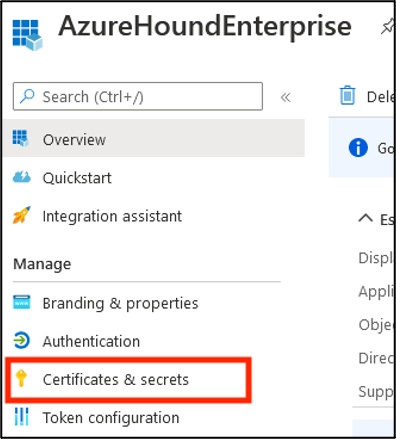
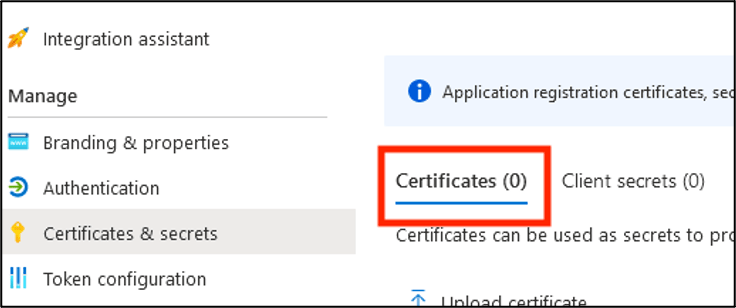
-
Click Certificates.
2
Upload certificate
-
Click Upload certificate.
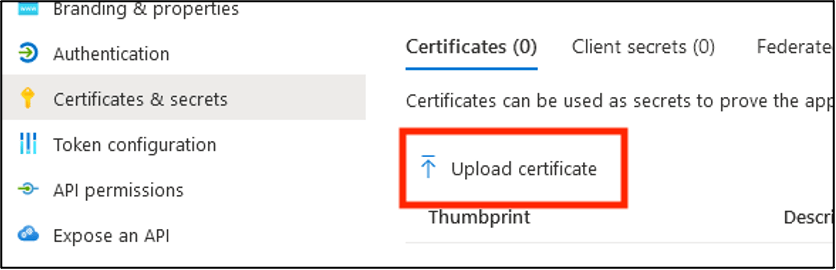
-
Locate the
cert.pemfile that you created during AzureHound configuration. -
Click the folder icon, select the
cert.pemfile, and add a description (optional).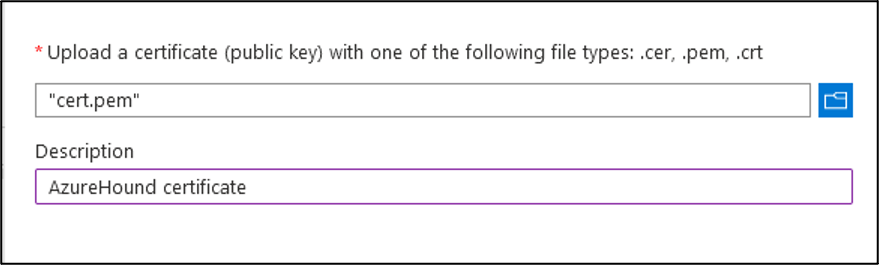
- Click Add.
Configure application branding
This section applies only if you created an app registration (Certificate, Client Secret, or Username and Password authentication). It does not apply to Azure Managed Identity authentication, since no app registration exists to brand.
1
Download application logo
You can download the AzureHound Enterprise icon from this site to use for the application logo in the Entra ID admin center.
2
Open the Branding & properties section
In the Entra ID admin center, navigate to the AzureHound Enterprise application and open the Branding & properties section.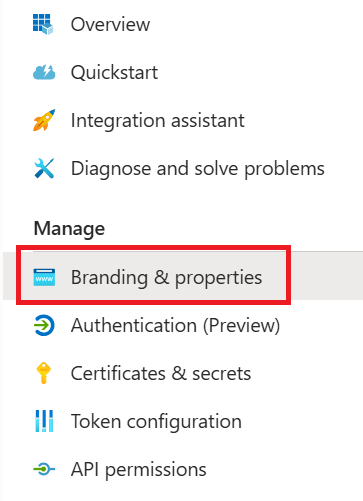
3
Upload the application logo
Click Select a file and browse to the icon file you downloaded.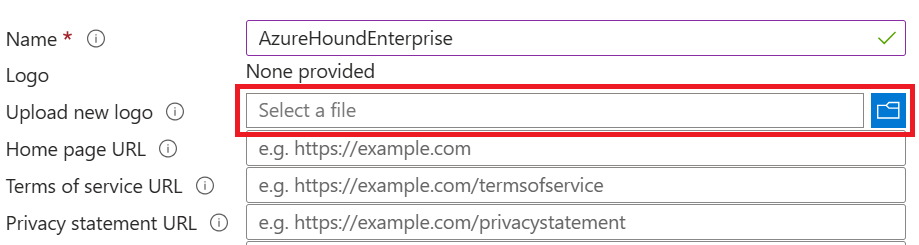
4
Set the application name and home page URL
- In the Name field, enter a human-readable name for the application, for example, BloodHound Enterprise Collector (AzureHound).
- In the Home page URL field, enter your BloodHound Enterprise tenant URL. This is for record keeping only.
5
Save the branding settings
Click Save and review the results.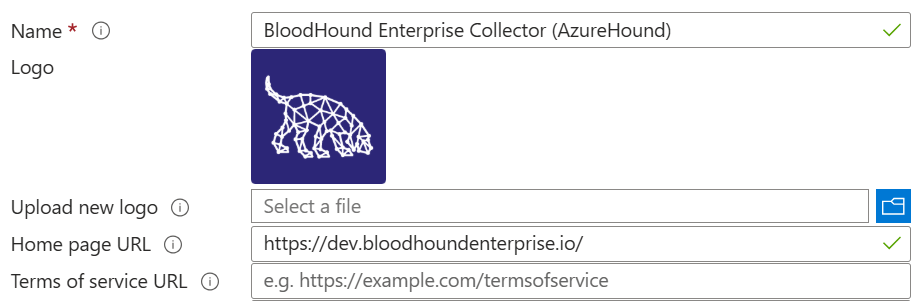
Create and assign required access roles
This section describes how to assign the required access roles for AzureHound Enterprise data collection. For Certificate, Client Secret, and Username and Password authentication methods, assign the role to the app registration’s service principal. For Azure Managed Identity authentication, assign the role to the managed identity’s service principal instead. The AzureHound Reader role is a least-privilege custom role that grants AzureHound the minimum permissions required to collect data from Azure Resource Manager. Assigning this role at the Tenant Root Group scope ensures AzureHound can collect data across all current and future subscriptions in the tenant.If you don’t have any management groups, you can skip this section. However, AzureHound will log a warning during each collection indicating it cannot collect management group data.Alternatively, you can create your Tenant Root Group by following the prompts in the Azure portal. This ensures visibility if another administrator begins using subscriptions in the future.
1
Navigate to the Tenant Root Group
- Log into the Azure portal as a user with the User Access Administrator role.
-
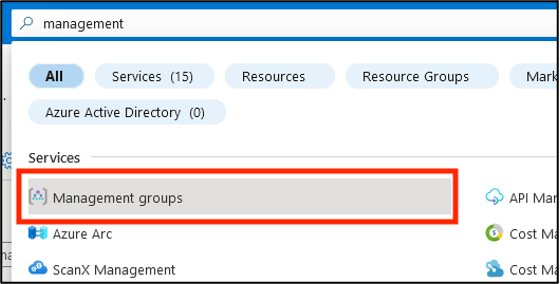
Search for and select the Management groups item in the top search bar.
-
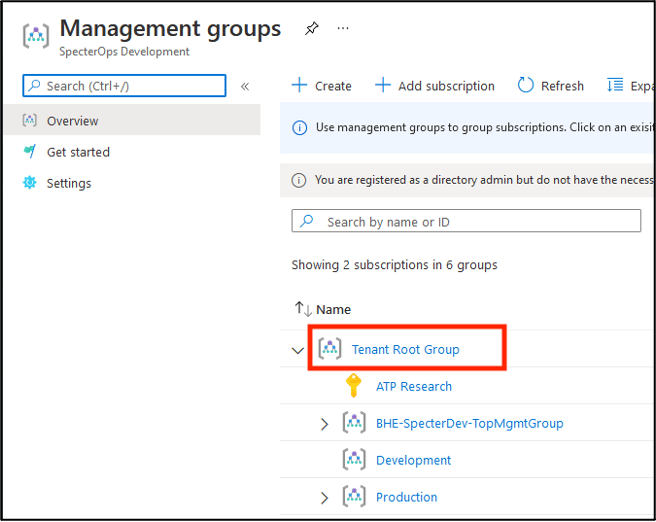
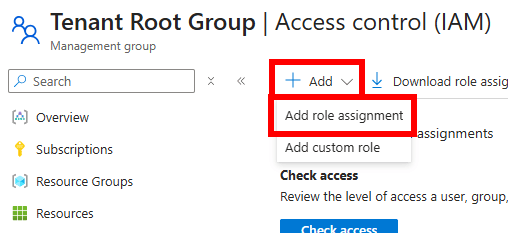
Select Tenant Root Group.
2
Create the AzureHound Reader custom role
-
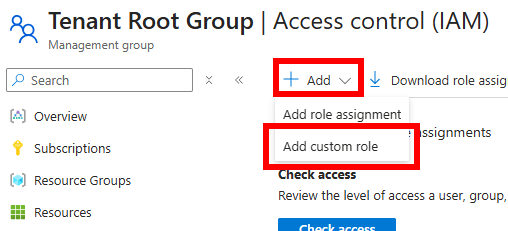
Select Access control (IAM).

-
Click Add, then Add custom role.
-
Download azurehound-reader-role.json, open it in a text editor, and replace
<tenantRootGroupId>with your Tenant Root Management Group ID (this is your Entra ID tenant ID).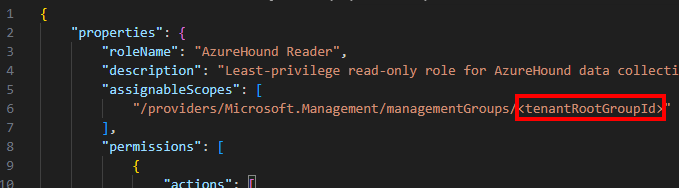
-
In Basics > File, upload the edited file and click Review + create.
 See AzureHound Data Collection and Permissions: Azure Resource Manager for details on each least-privilege permission in the AzureHound Reader role.
 -
Review the role and click Create at the bottom of the page.

3
Assign the AzureHound Reader role
-
Back in Access control (IAM), click Add, then Add role assignment.
-
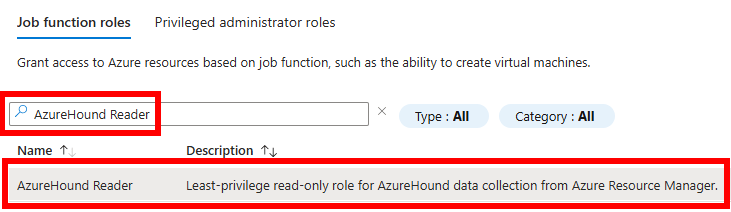
Search for the AzureHound Reader role and select it.
-
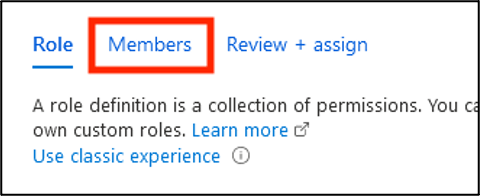
Click Members.
-
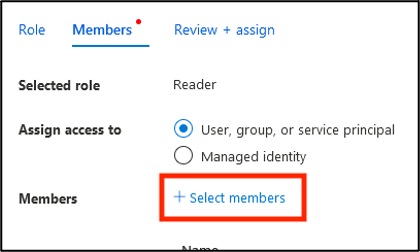
Click Select members.
-
For Azure Managed Identity authentication, under Assign access to, select Managed identity. For Certificate, Client Secret, and Username and Password authentication, leave the default User, group, or service principal selected.
Managed identities do not appear in the default member picker. You must switch Assign access to to Managed identity first, or your search in the next step will return no results.
-
Search for and click on the service principal to assign the role to. For Certificate, Client Secret, and Username/Password authentication, select the AzureHound Enterprise app registration’s service principal. For Azure Managed Identity authentication, select the managed identity’s service principal.
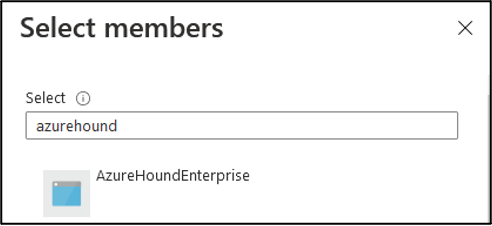
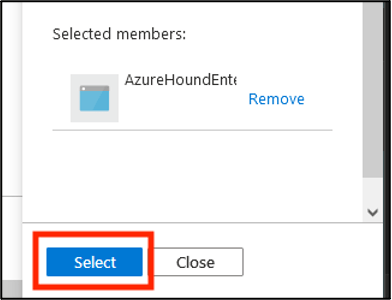
-
Validate the principal selected, then click Select.
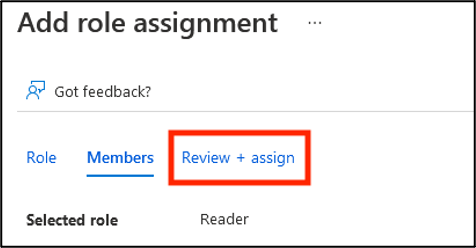
4
Review the role assignment
-
Click the tab Review + Assign.
-
Click Review + Assign at the bottom of the page.
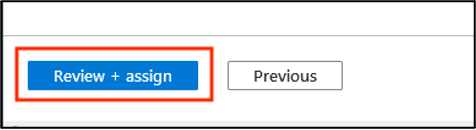
- Confirm the role is present by refreshing this view. You may need to alter the filter to see this role.
Scripted configuration
As an alternative to the manual steps described in this document, you can use PowerShell to automate the entire configuration process.This script applies to Certificate, Client Secret, and Username and Password authentication methods only — it is not applicable for Managed Identity authentication.
After running this script, follow the steps to configure an authentication certificate to complete the setup.